Quick Look
Grade Level: 5 (4-5)
Time Required: 4 hours 15 minutes
(Five 50-minute sessions)
Expendable Cost/Group: US $2.00
Group Size: 3
Activity Dependency: None
Subject Areas: Problem Solving, Science and Technology
NGSS Performance Expectations:

| 3-5-ETS1-1 |
| 3-5-ETS1-2 |
| 3-5-ETS1-3 |

Summary
In India, many small farms (less than 5 acres) face challenges in managing essential farming tasks such as plowing, cultivating, spraying, weeding, and tilling. In this activity, students design and build a solution to improve one of three key farming tasks: picking up objects from the ground (deweeding), spreading seeds (seeding), or spraying water to rows on the sides (watering). Students choose one of these tasks and focus on creating a more efficient, practical way to complete it, applying engineering principles to solve real-world agricultural challenges.Engineering Connection
Engineers design, create, and test practical solutions that improve farming processes. Engineers work alongside farmers to create technology that enhances crop yields, improves working conditions, and increases profits. For small farms, which are often run by families or communities, it is crucial that new farming technology not only be effective, but also affordable and easy to maintain. Engineers focus on developing equipment that is accessible, with components that can be easily changed, repaired, or replaced, ensuring sustainability and efficiency over time.
Learning Objectives
After this activity, students should be able to:
- Follow and explain the steps of the engineering design process.
- Brainstorm and compare multiple viable solutions that address a need or a want.
- Identify aspects of a prototype design that can be improved.
Educational Standards
Each TeachEngineering lesson or activity is correlated to one or more K-12 science,
technology, engineering or math (STEM) educational standards.
All 100,000+ K-12 STEM standards covered in TeachEngineering are collected, maintained and packaged by the Achievement Standards Network (ASN),
a project of D2L (www.achievementstandards.org).
In the ASN, standards are hierarchically structured: first by source; e.g., by state; within source by type; e.g., science or mathematics;
within type by subtype, then by grade, etc.
Each TeachEngineering lesson or activity is correlated to one or more K-12 science, technology, engineering or math (STEM) educational standards.
All 100,000+ K-12 STEM standards covered in TeachEngineering are collected, maintained and packaged by the Achievement Standards Network (ASN), a project of D2L (www.achievementstandards.org).
In the ASN, standards are hierarchically structured: first by source; e.g., by state; within source by type; e.g., science or mathematics; within type by subtype, then by grade, etc.
NGSS: Next Generation Science Standards - Science
| NGSS Performance Expectation | ||
|---|---|---|
|
3-5-ETS1-1. Define a simple design problem reflecting a need or a want that includes specified criteria for success and constraints on materials, time, or cost. (Grades 3 - 5) Do you agree with this alignment? |
||
| Click to view other curriculum aligned to this Performance Expectation | ||
| This activity focuses on the following Three Dimensional Learning aspects of NGSS: | ||
| Science & Engineering Practices | Disciplinary Core Ideas | Crosscutting Concepts |
| Define a simple design problem that can be solved through the development of an object, tool, process, or system and includes several criteria for success and constraints on materials, time, or cost. Alignment agreement: | Possible solutions to a problem are limited by available materials and resources (constraints). The success of a designed solution is determined by considering the desired features of a solution (criteria). Different proposals for solutions can be compared on the basis of how well each one meets the specified criteria for success or how well each takes the constraints into account. Alignment agreement: | People's needs and wants change over time, as do their demands for new and improved technologies. Alignment agreement: |
| NGSS Performance Expectation | ||
|---|---|---|
|
3-5-ETS1-2. Generate and compare multiple possible solutions to a problem based on how well each is likely to meet the criteria and constraints of the problem. (Grades 3 - 5) Do you agree with this alignment? |
||
| Click to view other curriculum aligned to this Performance Expectation | ||
| This activity focuses on the following Three Dimensional Learning aspects of NGSS: | ||
| Science & Engineering Practices | Disciplinary Core Ideas | Crosscutting Concepts |
| Generate and compare multiple solutions to a problem based on how well they meet the criteria and constraints of the design problem. Alignment agreement: | Research on a problem should be carried out before beginning to design a solution. Testing a solution involves investigating how well it performs under a range of likely conditions. Alignment agreement: At whatever stage, communicating with peers about proposed solutions is an important part of the design process, and shared ideas can lead to improved designs.Alignment agreement: | Engineers improve existing technologies or develop new ones to increase their benefits, to decrease known risks, and to meet societal demands. Alignment agreement: |
| NGSS Performance Expectation | ||
|---|---|---|
|
3-5-ETS1-3. Plan and carry out fair tests in which variables are controlled and failure points are considered to identify aspects of a model or prototype that can be improved. (Grades 3 - 5) Do you agree with this alignment? |
||
| Click to view other curriculum aligned to this Performance Expectation | ||
| This activity focuses on the following Three Dimensional Learning aspects of NGSS: | ||
| Science & Engineering Practices | Disciplinary Core Ideas | Crosscutting Concepts |
| Plan and conduct an investigation collaboratively to produce data to serve as the basis for evidence, using fair tests in which variables are controlled and the number of trials considered. Alignment agreement: | Tests are often designed to identify failure points or difficulties, which suggest the elements of the design that need to be improved. Alignment agreement: Different solutions need to be tested in order to determine which of them best solves the problem, given the criteria and the constraints.Alignment agreement: | |
Materials List
Each group needs:
- tape
- glue
- scissors
- Engineering Mechanized Farm Tools Handout (one per student)
Access to cheap and/or clean, recycled materials such as:
- various-sized pieces of cardboard
- straws
- toothpicks
- paper plates
- milk jugs
- foil
- paperclips
- string, twine, or yarn
- 16-ounce plastic bottles
- (optional) any other materials brought in by students
- (optional) handful of grass or other small seeds
For the entire class to share:
- 24 x 72-inch piece of green paper (one long piece or multiple sheets to create the land)
- 6 x 72-inch piece of brown paper (one long piece or multiple sheets to create the soil)
- 1 long table (for testing)
- 12 disposable paper cups
- 24 mini marshmallows
- 6 feet of rope, fishing line, or string
- 1 carabiner clip
- access to water (for testing sprayers)
- 1 laptop or tablet with a projector to show videos and images to students
- (optional) samples of Indian crops (e.g., rice, wheat, millet, maize, coffee beans, cotton, or jute twine)
Worksheets and Attachments
Visit [www.teachengineering.org/activities/view/uod-2754-mechanized-farm-equipment-design-activity] to print or download.Introduction/Motivation
Have you ever thought about where your food comes from, or how people in other countries get theirs? In the U.S., most fruits and vegetables are grown on large farms, but in places like India, many farms are much smaller. These small farms, often run by families or communities, rely on manual labor and hand tools because large machinery is neither practical nor affordable.
With nearly 1.4 billion people to feed, agriculture is crucial in India—more than 40% of its workforce is employed in the sector. Given its warm climate and year-round growing seasons, farmers rotate crops such as rice, wheat, millet, maize, pulses, sugar cane, oil seeds, tea, coffee, rubber, cotton, and jute, each with its own requirements for maximum yield. (Optional: Pass around samples of Indian crops such as rice, wheat, millet, maize, coffee beans, cotton, and jute twine.) Each crop requires different tools, but all need to be planted, watered, and weeded.
Recently, there has been significant movement toward making Indian farming more sustainable and eco-friendly. Who knows what sustainable means? Sustainable means using things in a way that does not hurt the planet, and using things that can last a long time. For example, if we cut down all of the trees to make paper without planting new ones, there will not be enough trees in the future. But if we plant new trees when we cut some down, we can keep making paper without running out. So, being sustainable means taking care of the Earth and making sure we do not use up all of its resources too quickly. Who knows what eco-friendly means? As with sustainable, eco-friendly means doing things that are good for the Earth and not harmful to the environment. For example, using a reusable stainless steel water bottle instead of a single-use plastic water bottle is eco-friendly because it helps reduce the amount of plastic trash that can hurt animals and pollute the planet. It is like making choices that help keep nature clean and healthy!
As part of this farming movement, Indian farmers are exploring cleaner, greener strategies for improving their farming techniques. This includes using natural fertilizers, rotating what kind of crop is planted where, and trying to control pests in more eco-friendly ways, such as without pesticides. Additionally, Indian farmers are interested in finding ways to maximize their water usage and reduce waste.
Let’s take a look at this video. (Show video of zero waste farming in India [6:12 minutes].)
Today you are going to become engineers and use the engineering design process to design, create, test, and improve one of the following farm tools: deweeder, seeder, or sprayer. Let’s get started!
Procedure
Background
Most small farms in India are highly labor-intensive, with much of the work, such as weeding, watering, sowing, cultivating, and tilling, done manually. Because of the small size of these farms, and limited access to advanced machinery, farmers rely on traditional methods to manage their crops, which include staples such as rice, wheat, millet, and maize, as well as commercial crops such as sugarcane, cotton, tea, coffee, rubber, and jute. The diversity of crops reflects the varied agricultural conditions across India, but it also increases the demand for hands-on, time-consuming labor.
In recent years, there has been significant movement toward making Indian farming more sustainable and eco-friendly. Farmers and agricultural experts are advocating for reduced reliance on chemical herbicides and pesticides, which have been widely used to control pests and boost crop production. This shift is driven by concerns over soil health, biodiversity, and the long-term environmental impact of chemicals, as well as consumer demand for healthier, organic produce.
As part of this sustainability push, farmers are also exploring cleaner, greener strategies for improving their farming techniques. This includes using natural fertilizers, implementing crop rotation, and adopting integrated pest management (IPM) methods to control pests in more eco-friendly ways. Additionally, there is growing interest in precision agriculture, where technology such as drip irrigation systems, solar-powered equipment, and automated tools are employed to optimize water use and reduce waste. These innovations not only improve efficiency but also help small farmers adapt to the challenges posed by climate change, such as unpredictable rainfall and shifting growing seasons. 
Before the Activity
- Gather the building materials and display them in a communal area and/or on a table.
- Make copies of the Engineering Mechanized Farm Tools Handout (one per student).
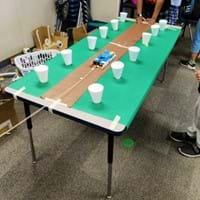
- Set up a prototype testing area that mimics a row of crops. For example, cover a 6-foot table with green paper and run a 6-inch-wide strip of brown paper down the middle of the green paper.
- Tie a 6-foot rope, fishing line, or string to the carabiner clip. (The carabiner will be attached to the students’ prototypes, and then they will pull the line to simulate movement of their design along the crop line.)
With the Students
Day 1: Introduction
- Read the Introduction and Motivation Section with the students.
- Optional: Show pictures of some common crops of India from the websites below:
- https://eng.kisanofindia.com/latest-news/jute-farming-why-india-is-the-largest-jute-producer (jute)
- https://pipingpotcurry.com/indian-pulses (pulse)
- https://www.latimes.com/world-nation/story/2021-11-08/india-sugarcane-cutters (sugar cane)
- https://www.theweek.in/theweek/business/2022/12/10/expansion-of-rubber-cultivation-in-north-east-india.html (rubber farm)
- https://www.agrifarming.in/coffee-cultivation-in-india-best-states-to-grow-farming-practices-and-production-guide (coffee)
- https://www.healthline.com/nutrition/what-is-millet#benefits (millet)
- https://www.agrifarming.in/rice-cultivation-information-guide (rice)
- https://www.agrifarming.in/cotton-farming-guide (cotton)
- Divide the students into small groups.
- Give groups 5 minutes to think about how they get their food and to discuss with their teammates.
- Gather the class back together and lead students in a discussion about farming. For example, ask: Where does our food come from? (Potential answer(s): stores, farmers’ markets, family garden.)
- Ask the class to work together to create a list of what needs to be done to grow food on a farm. (Answers: Prepare the soil, plant the seeds, water the crops, control weeds and pests, make sure plants get enough sunlight, harvest the crops.)
- Ask students what it means to have a natural farm or a zero-waste farm. (Answers: A natural farm means they do not use pesticides or fertilizers that are not naturally made. A zero-waste farm means that everything on the farm is used and there is no trash generated.)
- Show students the following video (2:09 minutes): https://www.youtube.com/watch?v=AzmXb9Kwr04.
- Discuss the video with the students.
- First ask: What are farmers in Andhra Pradesh, India, doing to improve farming? (Answers: Not using chemicals, minimal tilling, growing at least eight crops, using natural fertilizers, mulching the soil, using less water, using less electricity.)
- Then ask: What do you think would help farmers in India to be more efficient? (Note: The main point from this discussion should be the need for simple machinery that speeds up deweeding, planting, or watering the crops.)
Day 2: Ask and Research
- Show students the following video of a solar deweeder: https://www.suryanirbhar.co.in/portfolio (bottom-right video).
- Tell students: This is a solar deweeder. The battery is charged through solar power to be more environmentally friendly, and it will always work, even if the electric grid is not working.

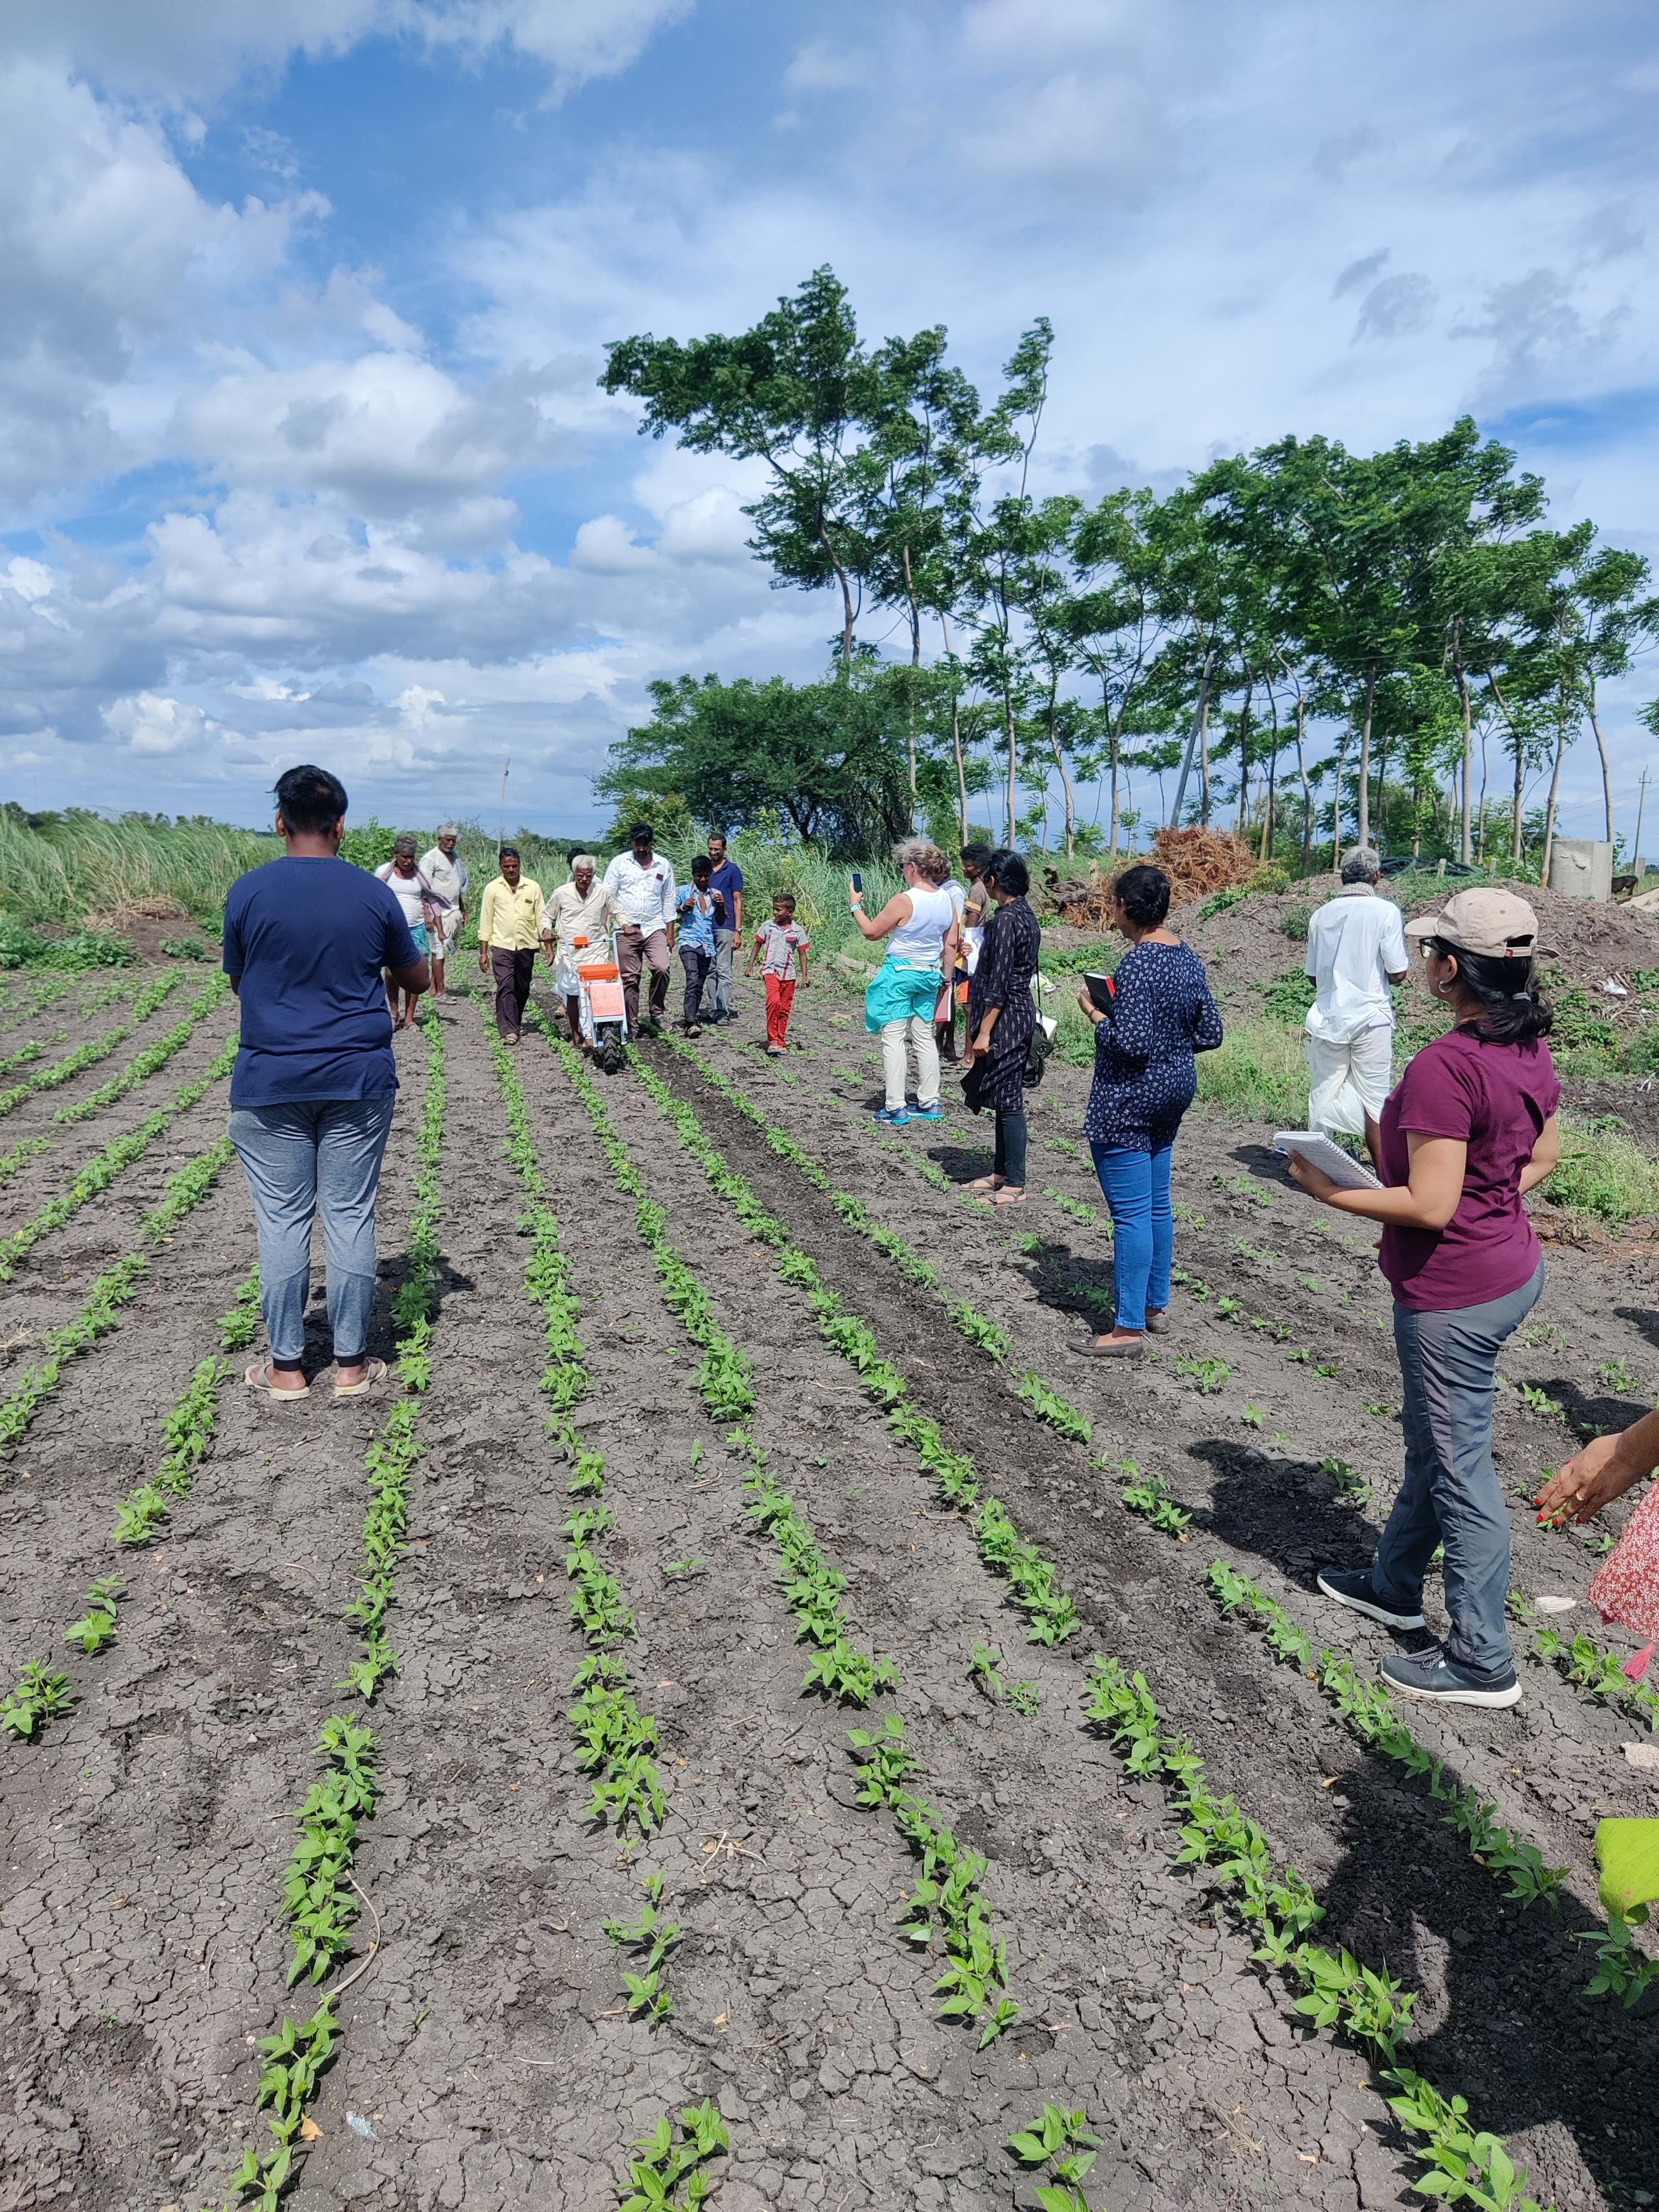
A demonstration of a solar-powered deweeder. - Introduce the design challenge to the students: Design a device that can be attached to the solar deweeder that can do ONE of the following: (a) pick up weeds, (b) water plants, or (c) spread seeds on the farm.
- Divide the class into groups of 2 - 4 students each. Remind students that their prototype will be clipped onto the rope or line with the carabiner. This simulates their prototype being hooked up to the solar deweeder machine.
- Give each student the Engineering Mechanized Farm Tools Handout.
- Optional: Walk through the engineering design process on the first page of the handout.
- Have students work on the “Ask” section of the handout with their group.
- After completing the “Ask” section, have each team discuss and decide whether they want to create a seeder, a waterer, or a deweeder.
- After their project is chosen, give students time to research small-farming techniques for seeding, watering, or deweeding. They should record their research notes in the “Research” section of the handout.
- Optional: If extra time is needed for researching, this can be assigned as homework.
Day 3: Imagine, Plan, Create
- After completing their research, have students imagine solutions individually.
- Have each student brainstorm and imagine four practical solutions and sketch those in the “Imagine” section of the handout.
- Give students time to compare their individual solutions with each other.
- Have students select the one solution they want to build as a group.
- Give students time to decide on a list of materials they will use.
- Have each student draw the solution their group decided on in the “Plan” section of the handout. Tell them to be sure materials are clearly labeled.
- After materials are chosen and the drawing is complete, check each groups’ project to make sure they are ready to move on. (Note: Let students know that you must approve any additional materials they may want to add to the design.)
- Let students begin building their prototype. Remind students that their prototype should reflect the drawing they made during the planning step of the engineering design process.

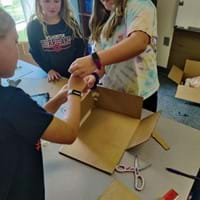
Students build a base to house their project.
Day 4: Create and Test
- If needed, give groups time to finish creating their prototype.
- Have students test their design in the communal testing area.
- Have students either pick up the mini marshmallows (the weeds), water each of the plants (paper cups), or put seeds in the ground (in the cups).
- During testing, have students hook their prototype to the clip and then drag their design across the table.
- After testing, have students complete the “Test” section of the handout.
- Give students time to make improvements to their prototype designs. (Note: Let groups know they must see you if they want to add more materials.)

The testing area for deweeder attachments.
Day 5: Iterate and Retest
- Give students time to retest their design.

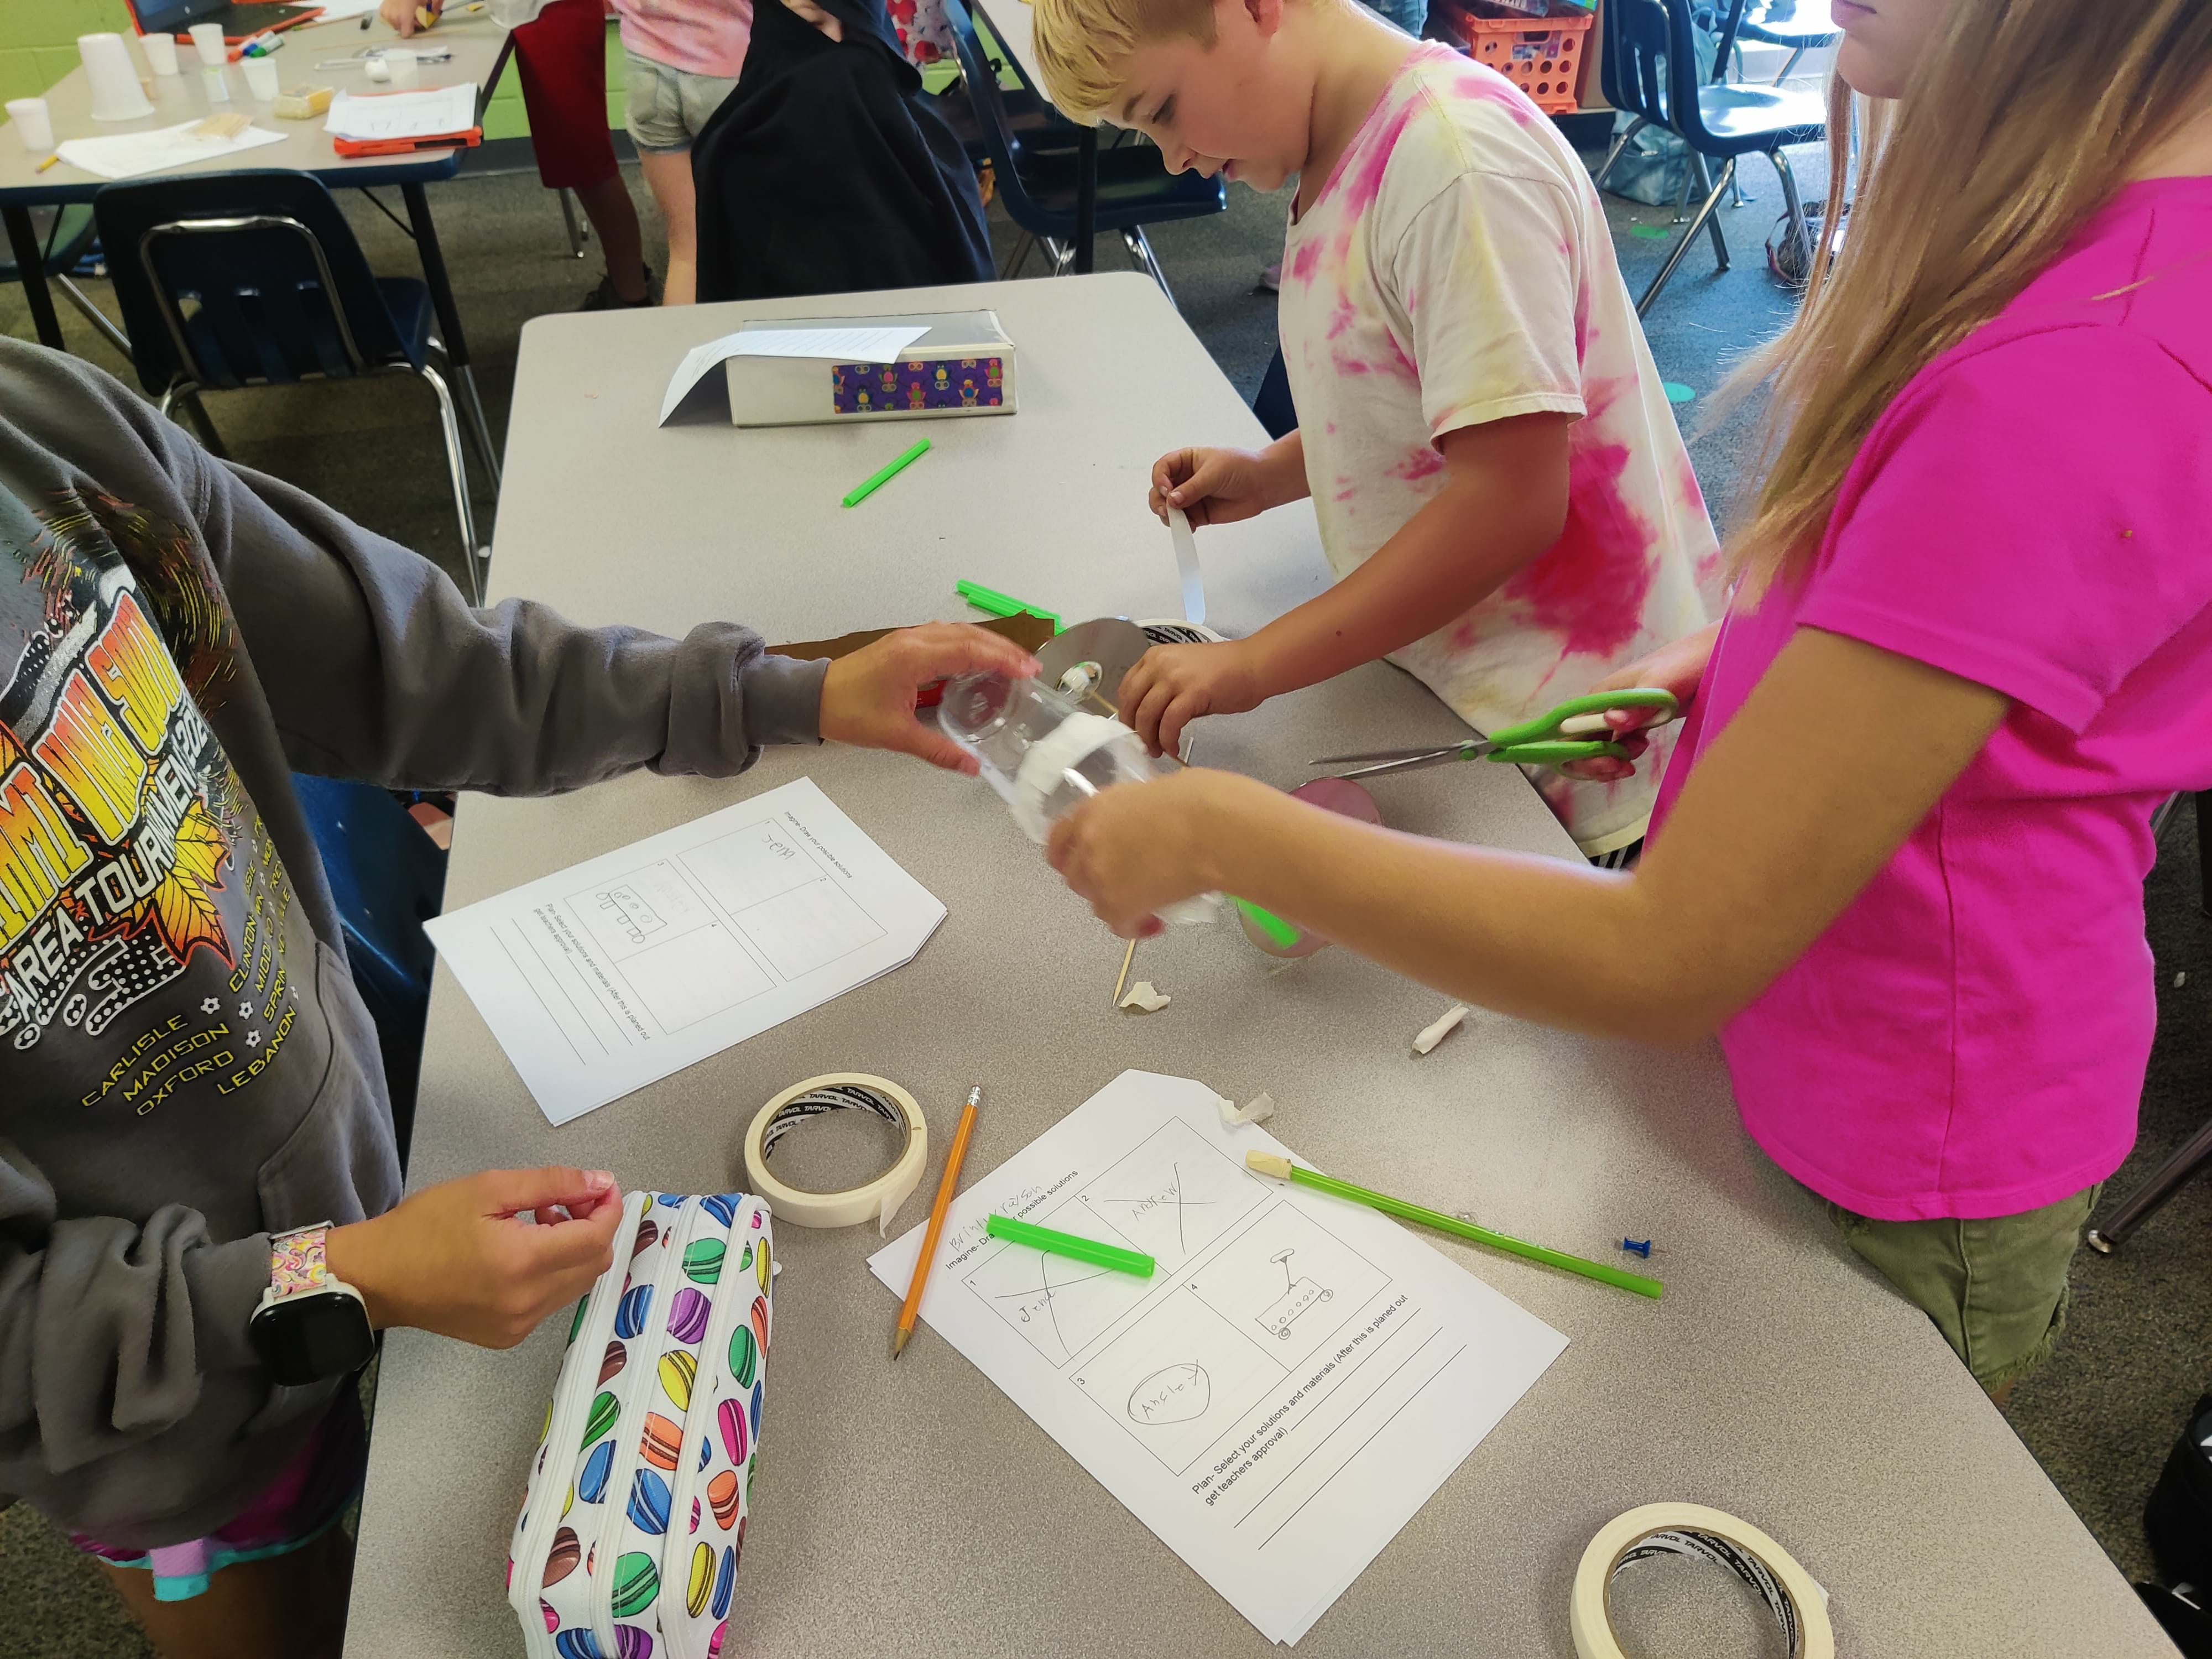
Students work to improve their water sprayer prototype. - Have students complete the “Improve” section of the handout.
- Optional: If students complete their task successfully and there is time, let them add to their design to complete one or both of the other two jobs.
- Give students time to complete the “Reflection” part of the Engineering Mechanized Farm Tools Handout.
Vocabulary/Definitions
deweeder: A machine used to remove weeds from between crop rows.
micro-farm: A small-scale farm where work is typically done by hand.
seeder: A machine used to seed crops.
sprayer: A machine used to water crops.
Assessment
Pre-Activity Assessment
Brainstorming and Classroom Discussion: In small groups, have students discuss the various tools and equipment that are needed to make a small farm work. To help, guide the students to think about what is needed to make plants grow. After small group discussions, have each group share their thoughts with the class and record them on the board.
Activity Embedded (Formative) Assessment
Checking-In: After students imagine their projects and sketch their designs, including identifying the materials to be used, check their design and ask questions about why they chose specific materials and how their design will work. Note: This information is also recorded by the students in their Engineering Mechanized Farm Tools Handout.
Post-Activity (Summative) Assessment
Prototype Testing: To determine the success of each design, analyze one of the following, depending on the farming tool designed:
- Deweeder: the number of weeds picked (i.e., how many marshmallows are picked up)
- Sprayer: the number of plants watered (i.e., how much water makes it into the paper cups)
- Seeder: the number of seeds planted (i.e., how many seeds make it into the paper cups)
Reflection Questions: Have students reflect on the activity and answer the reflection questions in the Engineering Mechanized Farm Tools Handout.
Completed Worksheet: Grade each student’s completed Engineering Mechanized Farm Tools Handout.
Making Sense: Have students reflect on the science concepts they explored and/or the science and engineering skills they used by completing the Making Sense Assessment.
Safety Issues
- Students may cut cardboard with scissors, but note that they may need to use scissors that are bigger than they are used to.
- Water will be used, so keep an eye out for slippery surfaces. Have towels nearby.
Troubleshooting Tips
- Consider having two stations set up, one for water and one without water. Some of the students' designs got snagged when the bottom of the testing area was wet.
- Consider laminating or covering your testing area in waterproof material.
Activity Extensions
- Have students make devices that could help with everyday life, not just farming. such as picking up Legos/toys or sticks from a yard.
- Have students create a poster, flyer, or commercial to sell their product.
Activity Scaling
- Have advanced students make more than one of the farming tools.
- Have advanced students design a way to attach and detach their prototype from the solar deweeder machine.
Additional Multimedia Support
- https://www.youtube.com/watch?v=vF40gF-PUcs (Video about rural farming in India)
- https://www.youtube.com/watch?v=AzmXb9Kwr04 (Video about natural farming in India)
- https://www.suryanirbhar.co.in/portfolio (Suryanirbhar Agritech website showing pictures and videos of a deweeder)
- https://www.mylifeelsewhere.com/cost-of-living/united-states/india (Cost of living comparison between India and the United States)
Subscribe
Get the inside scoop on all things TeachEngineering such as new site features, curriculum updates, video releases, and more by signing up for our newsletter!References
Organization. 10/25/2022. https://www.suryanirbhar.co.in/about-us
10/17/2022 Selco Foundation https://selcofoundation.org
Copyright
© 2024 by Regents of the University of Colorado; original © 2022 Central State University and University of DaytonContributors
Justin Stout (author and classroom teacher), Dr. Kellie Schneider (Mentor), Dr. Margaret Pinnell (mentor), Dr. Leann Petry (mentor), Kelly Bohrer (mentor), Dr. Amy Andersen (mentor), Dr. Kevin Hallinan (mentor), Marjorie Hill Langston (mentor), Selco Foundation (engineering organization)Supporting Program
Global STEM Research Experience for Teachers (RET) — Appropriate Technology for Developing Communities, University of Dayton, Central State UniversityAcknowledgements
This curriculum was developed under National Science Foundation RET grant number EEC. 1855231/1855239. Any opinions, findings, and conclusions or recommendations expressed in this material are those of the authors and do not necessarily reflect the views of the National Science Foundation.
We would like to thank the following for their assistance on this work: Margaret Pinnell, Ph.D; Leanne Petry, Ph.D.; Kellie Schneider, Ph.D.; Amy Anderson, Ph.D; Kelly Bohrer; Suzanne Seleem, Ph.D; Sharath Krishna, Ph.D.; Rajeev Swami, Ph.D.; Dr. Denise Taylor, Ph.D.; Sharath Krishna, Ph.D.;Rydge Taylor, Ph.D.; Miranda van Iersel, Ph.D. (Note: Her last name starts with a capital "I".); Kevin Hallinan, Ph.D.; Andrew Chaisson, Ph.D.; Dave Perkins, Ph.D.; and Jacob Cress, Ph.D.
Last modified: April 15, 2025


User Comments & Tips